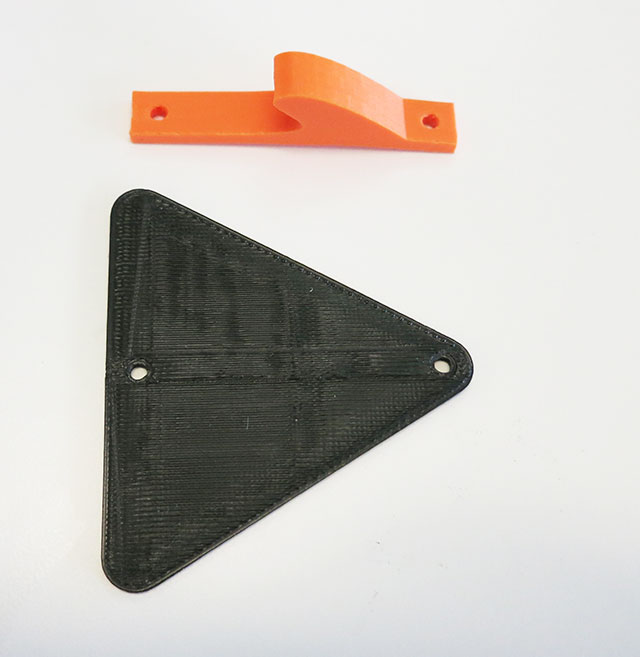
Cut out the template and align with the bottom of your UAV Mapper body.
Use a pencil to dent the Coroplast. Then poke a hole in the
Coroplast with a 3mm or 1/8" drill bit. Be sure measure template to
check scale: 10" x 7.5".
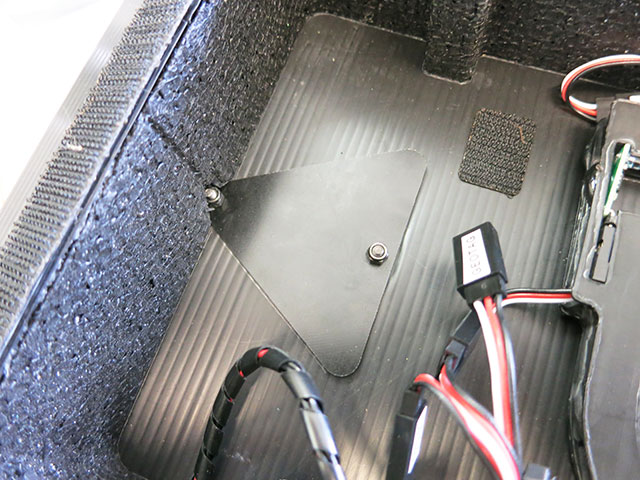
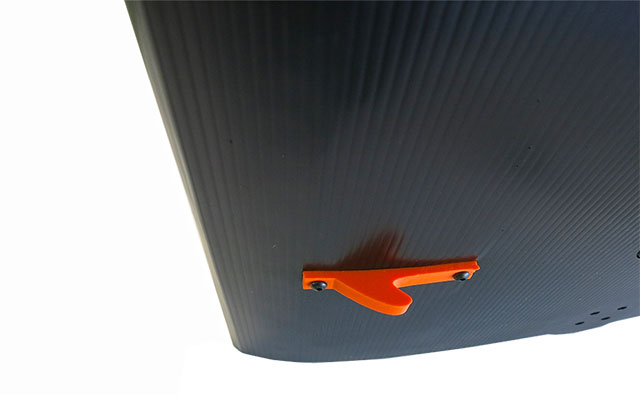
Align tow hook base to the screw holes and hot glue to the bottom of the body as shown.
Insert 3mm x10mm screws through body and tow hook plate. Tighten
nuts.
Configure your Pixhawk for bungee launch
Start Mission Planner and connect to your UAV Mapper.
Go to CONFIG/TUNING > Full Parameter Tree.
Set TKOFF_THR_MINACC to 15.
Bungee launch
Create a mission and set the first waypoint to TAKEOFF.
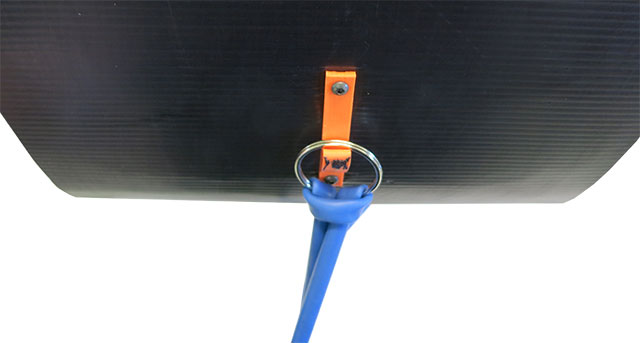
Stake one end of your bungee to the ground. Connect the other
end to your tow hook using a key ring and stretch the bungee.
Set your RC Transmitter Flight Mode switch to AUTO.
Release your UAV Mapper. The motor will spin to full power after
your UAV Mapper starts acceleration. Note: Apply up elevator when you release your UAV
Mapper since TAKEOFF has not started until the motor spins,
otherwise your UAV Mapper will fly level only a few inches above the
ground.